As I’ve gotten more into painting display models, I’ve also got more into bases, plinths and diorama building. These serve a critical role to either frame the piece (in the case of a simple plinth) or complete the story (in the case of a scenic base or diorama). These days, there are endless products, manufacturers and 3D designers making amazing, convenient, versatile, and effective bases and plinths. But where is the fun in that?
In addition to painting models, I enjoy building stuff in general. So I’m always looking for opportunities to go into the shop to utilize my labor and tools to produce a worse result, in a longer amount of time, for a higher cost than the commercial folks (that’ll show ’em).
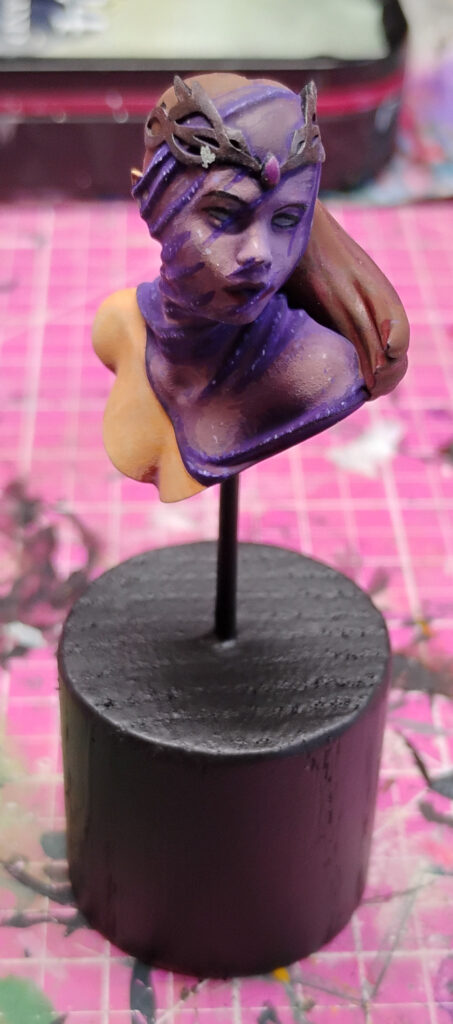
I recently made a couple of plinths and decorative bases out of garbage I had lying around. First, I needed two simple plinths for a pair of academic busts I am sketching- nothing fancy, just wanted a basic shape and satin black finish for a basic effect. So I grabbed a 1 1/2″ dowel rod I had lying around- if you have any kind of thick dowel rod, old table leg, etc, you can do this to. First, I used a little miter box and hand saw to hack off a couple of inches.
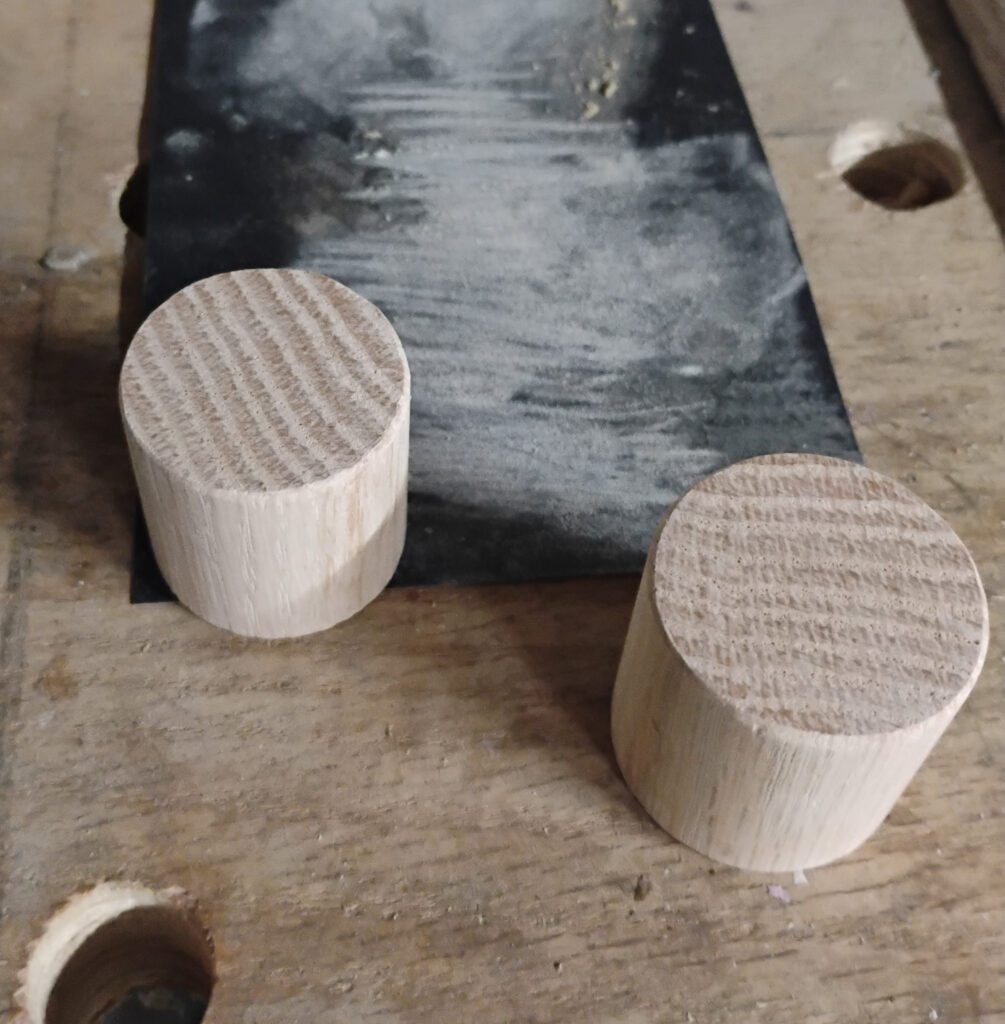
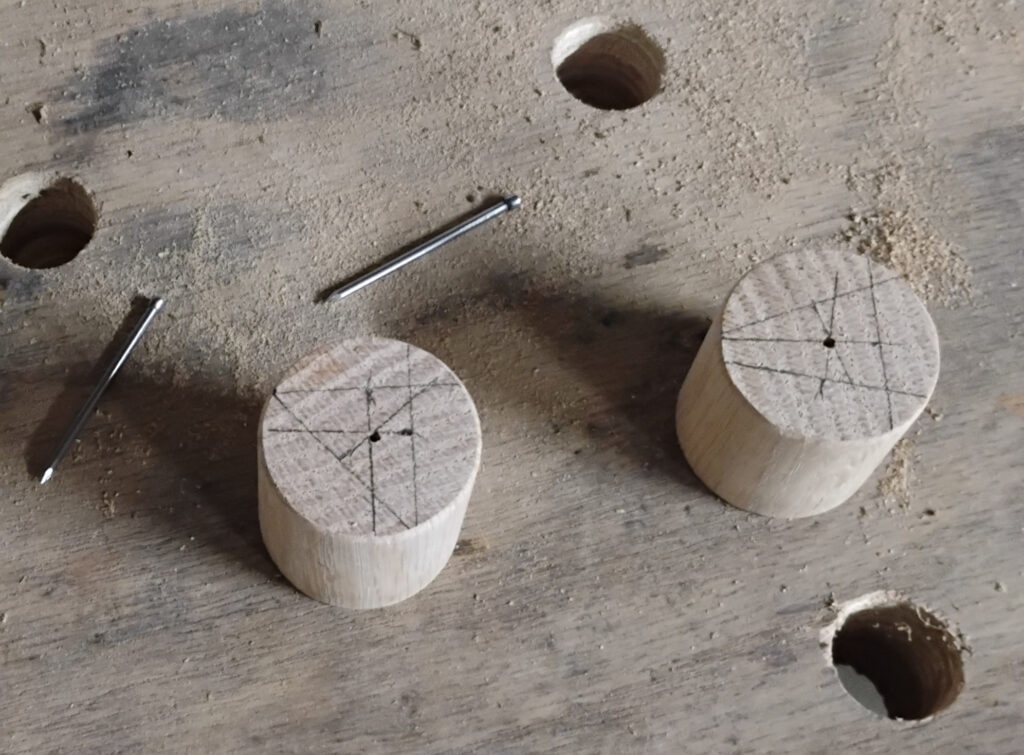
I sanded them smooth, then used an old trick to find the center- mark three chords across the top, then draw a perpendicular line to each one using anything at a right angle. The intersection is the center! I then drilled a small hole and used some finishing nails for a stand. I used some wood putty to seal the gaps.
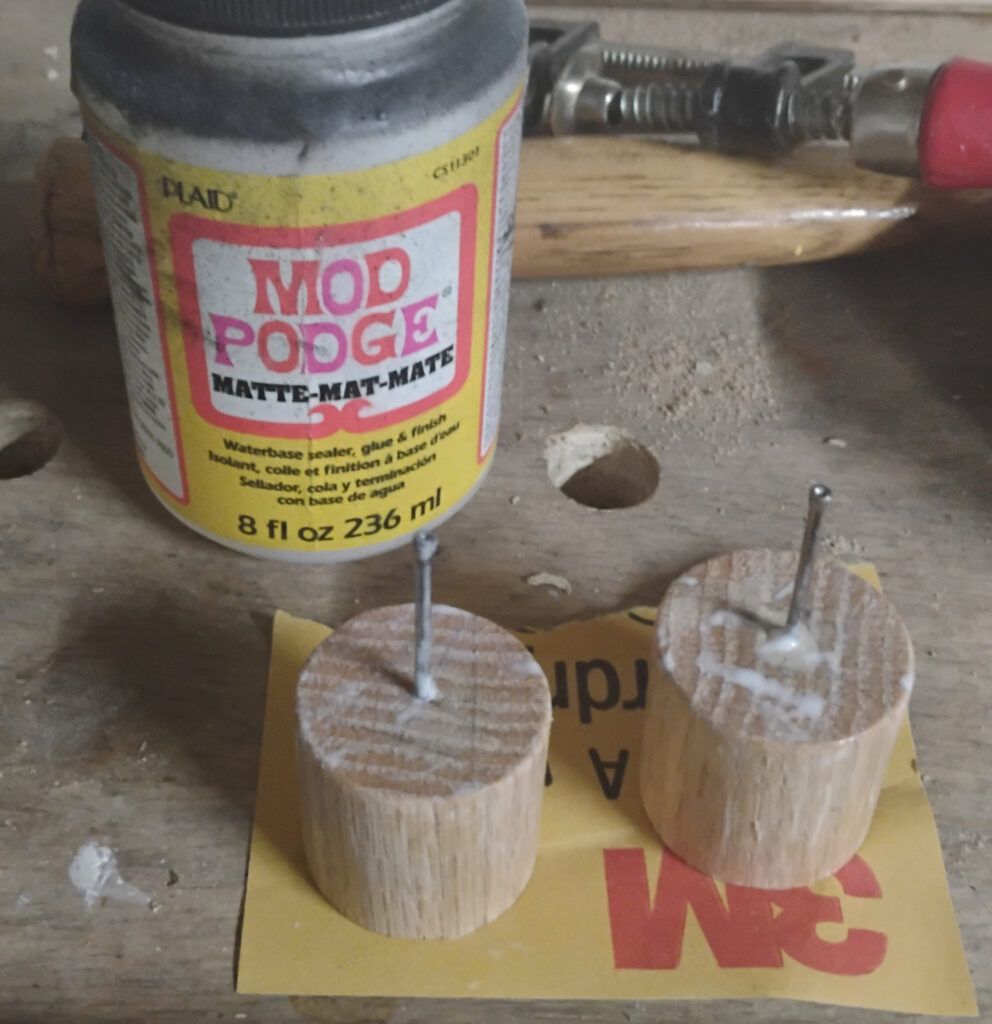

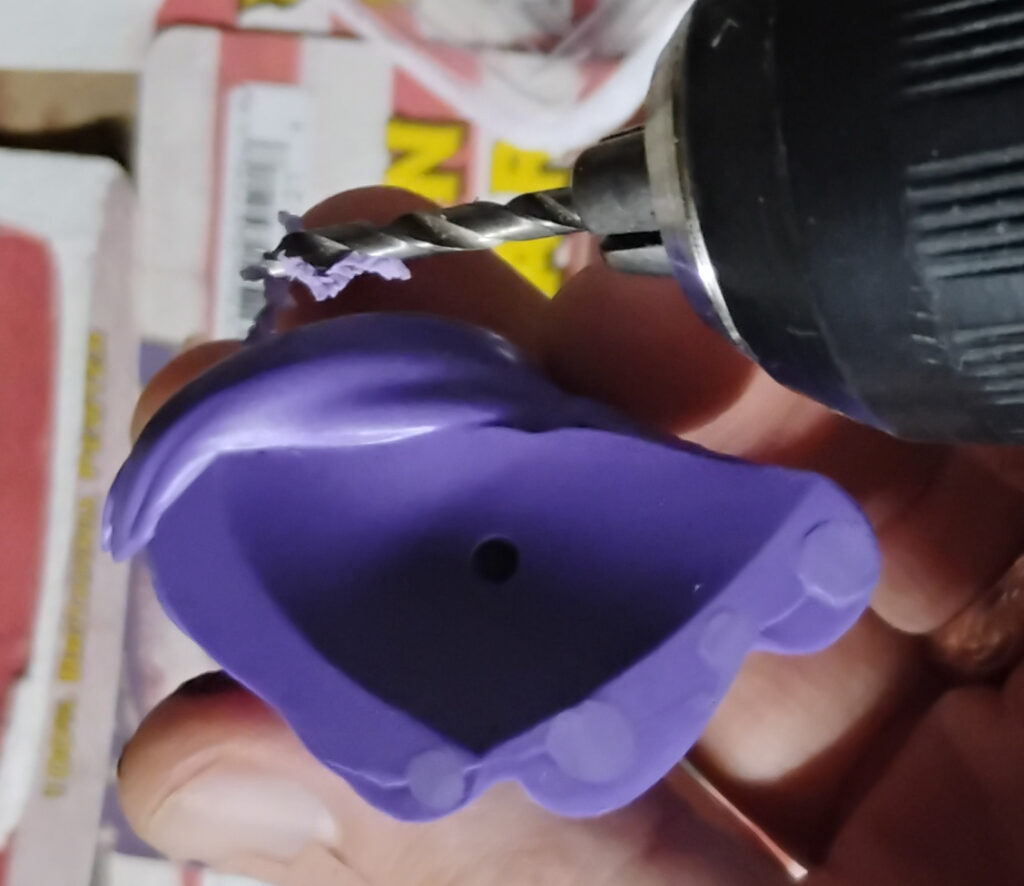
This was then sealed with mod podge and painted with a spray can- I’ll put a final finish on with a brush after painting. After this, I drilled holes in the bottom of my bust, then glued them to the top of the nail!
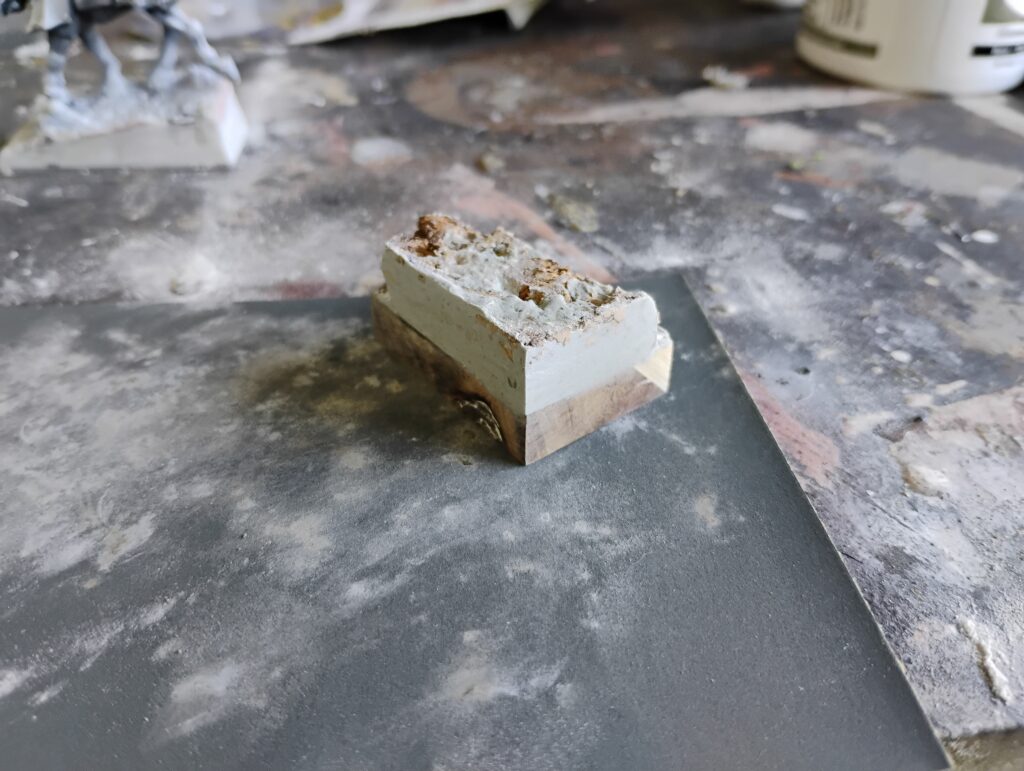
A second one I did was a bit more of a scenic base. I had some scrap butcher block from a project I was helping a friend with, which I cut off a section about 2″ by 1″ and 3/4″ thick. I put some sandpaper tapped down on a flat piece of MDF and used this to flatten the sides, checking with a square to make sure it was evened up. I then took some cork I had for basing and glued a couple layers on top.
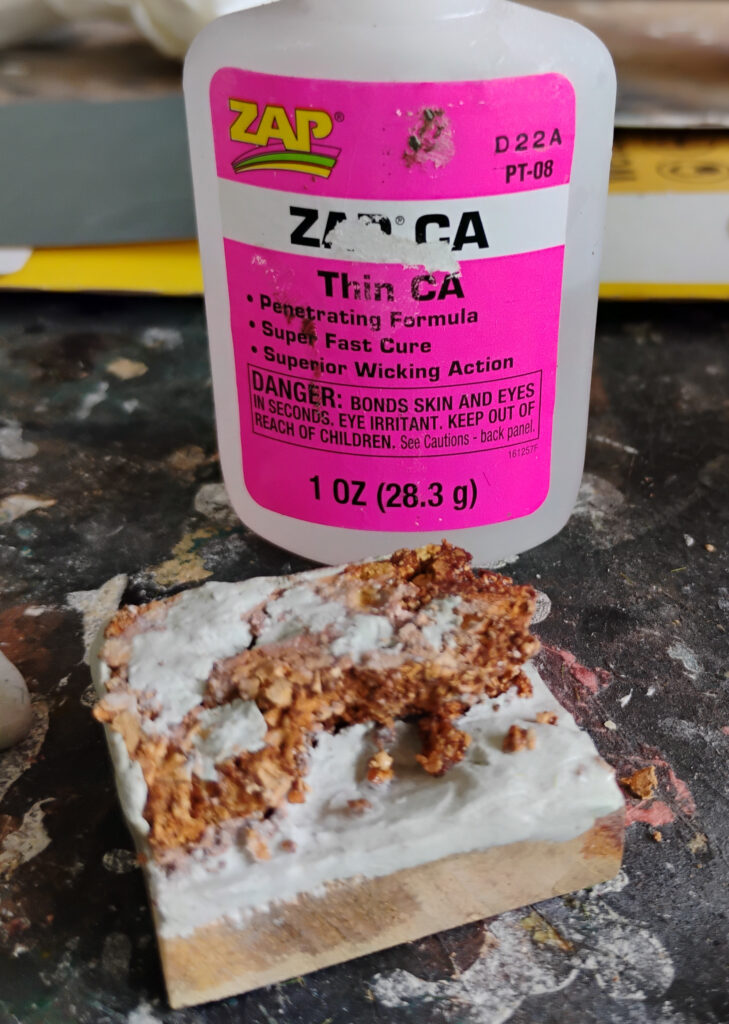
I then used some Aves Expoxisculpt smeared over the sides. After that set, I sanded it super smooth. I used spackle and playsand (but any basing grit would do) to smear over the surface. I then sealed this mess with a thin superglue I had lying around (mod podge would also work here, or thin PVA).
Then I finished it up and put a guy on it!

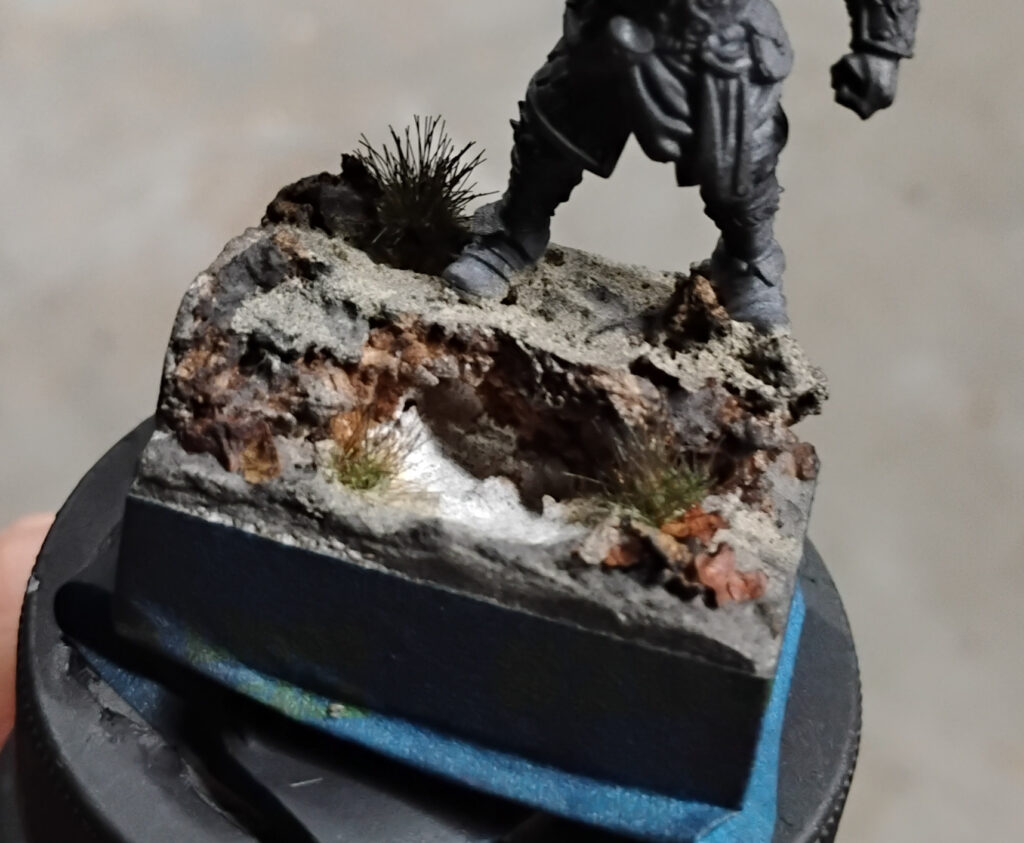
Other than the tufts, which were from Huge Miniatures, everything else was garage junk I had lying around! I hope to put up some more posts on this kind of building as I go. While not perfect, or as fancy as many people’s bases, I really enjoy building nothing out of something.
-BS